ne of the things that I would like to do on my blog, is to share the great resources that I find.
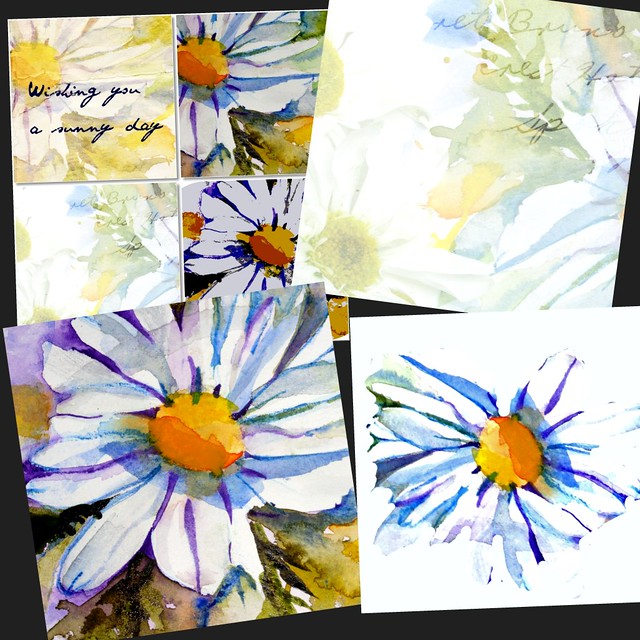
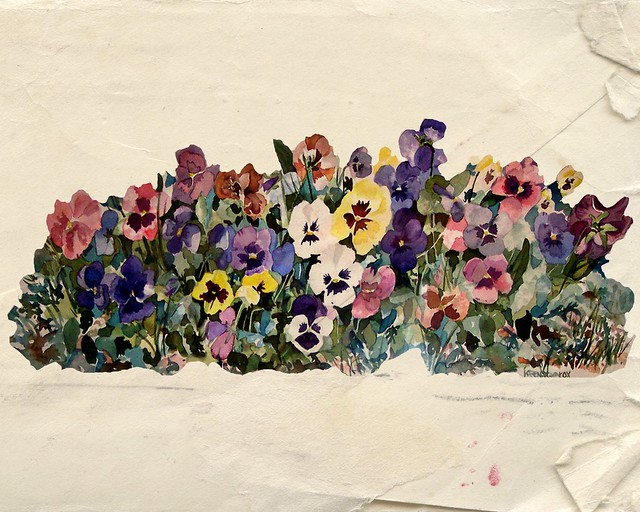
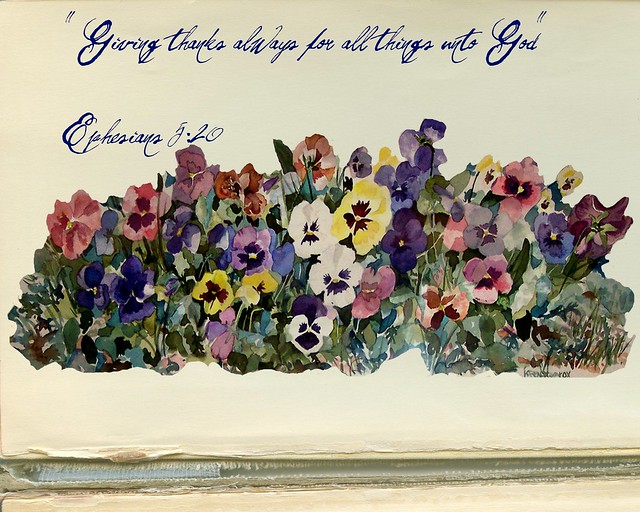
Here is an example of how from on original image, I was able to create three other kinds of effects using Picnik on Flickr.

I thought I would create a free Tutorial to share, so that you can add texture to your photography and taste the joy of creating your own graphic designs. Picnik offers many free effects for you to use.
The texture feature I am sharing today is part of their premium edition features.

To begin, if you do not have a flickr account, you can sign up for a Picnik account directly and then you can use this tutorial.
If you do have a flickr account, Picnik is there for you to use automatically.
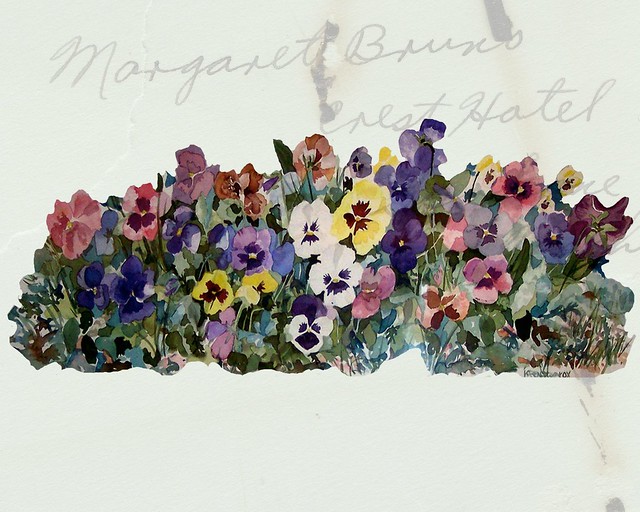
HOW TO USE TEXTURE IN PICNIK
If you have a flickr account
Click on a photo you want to edit
Click on ACTIONS
a drop down menu will appear
scroll down until you reach Edit Photo in Picnic
Click on EDIT PHOTO IN PICNIC
Picnic will load
Click on CREATE( if you are using Picnik directly, upload the photo you want to edit)
Click on EFFECTS
scroll down until you reach TEXTURE
Your photo will automatically change to the first choice temporarily
click on each of the different choices of backgrounds and it will change automatically
You can continue seeing other options as you hit the arrow to go to the right
When you reach one you like, now you can change that texture by
Clicking on ADVANCED MODES
Click on the arrow where it says MULTIPLY
a host of other options appear
Try each on out by clicking on them.
Now you can click on the different arrows which will put the design in different places.
You can also adjust the FADE button until you like what you see.
When you like everything you have done...
Click on APPLY
If you are done Click on SAVE
Picnic will ask if you want to save a new copy or replace the original
Click on which ever one you want to do and hit SAVE
If you are using this through flickr, it will return you to your new copy or the original changed.
Ta Dah.
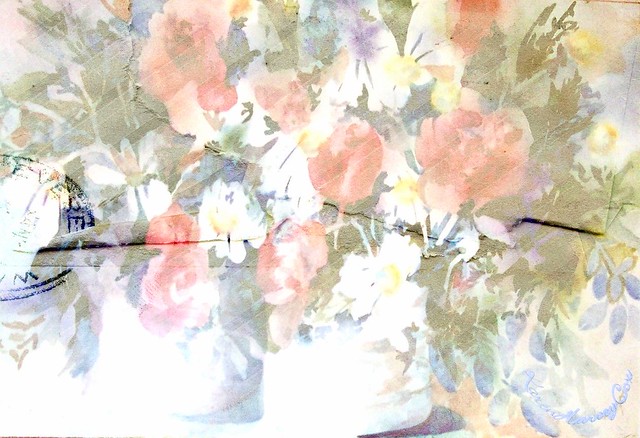
Now, from flickr if you click on that photo and then click ALL SIZES, you can download it to your computer any size you would like to have. I am using mine as postcards to slip into Thank you for your order notes.

You can use this process for your swaps, tags, cards etc. Everyone will think you have become a graphic designer overnight.
Happy Designing, Oh, and one more thing, you can add text to your designs...
In the Still Wee Hours of The Morning, you might find me creating graphic designs, and so I am playing my favorite song for this post from the great Sleepless in Seattle.
Footnote:

Footnote:
I am not paid by Picnic or Flickr to advertise for them, I just love them as a user and wanted to share my resources.
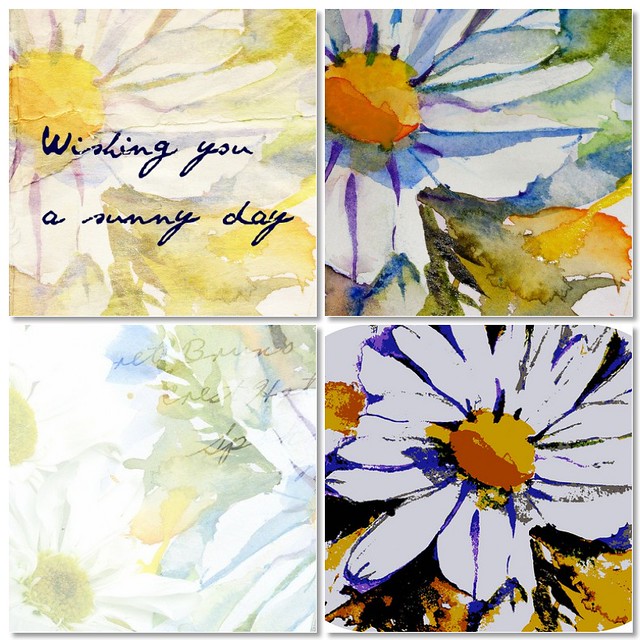
Numerous people have asked what I use to create Mosaics for Mosaic Monday, Picnik makes great collages.
Numerous people have asked what I use to create Mosaics for Mosaic Monday, Picnik makes great collages.



Karen,
Thank you for sharing. I use Picnik for just about all editing now. Just amazing what can be done.
Carol
Hello Karen,
This is a great tutorial and a fabulous postcard. You are so very generous.
~ Gabriela ~
Gorgeous Karen, thanks so much for sharing all this info.
Ruth
Thanks for taking the time to let us know...I hope I can get an account soon so that I can try this. I am so limited with Picasa and the programs I use! Your art is beautiful! ♥
Thank you so much I am going to go and try to see what I can come up. blessings to you.
Thank you Karen! What a great tutorial. I am heading over there to start playing!
Hugs,
Penny
Thank you for the tutorial Karen! I love to dabble with Picnik since my silly digital camera takes terrible shots. I've been using my husband IPhone which takes much better photos.
Deanna :D
Oh Karen! I have been using Picnik for my new headers.....but is Flickr free? I just use the free services by Picnik. IT SURE LOOKS GREATTTTTT! Anita
Hi there! Karen, believe it or not, I have been here and already stolen a background image to use with a mosaic one day. Should have commented though, because this really is an excellent tutorial making me believe that even I could do it!
thanks for sharing these links, your work is beautiful! I also have to thank you for your kind words and encouragement on my blog, I shall definitely take your advice and squeeze in some time for creating.
I use picnik too but had no idea I could do this! Thanks for the brilliant tutorial.
Best wishes and happy weekend,
Natasha.
Well for goodness sake Karen, I've had a Flickr account for ages and had no idea that Picnik was included! lol. Thanks for the information, now I'll be able to edit some of my photos!
Hi Karen, I have fiddled around with Picnik and need to learn a bit more. Thanks for the tutorial and for the visit. ♥olive
Hi Karen,
Love this tutorial and I will check it out soon. You are so kind and generous to pass along all this info.
I have been having fun with Photoscape and it also offers a lot of different textures and such. I currently use it for all my editing and shoppe pics. Your site may do more though. I have been creating gift tags and such with my original design pics. It is very addiciting.
Love your art work.
Thank you for stopping by. Always great to see you.
Your art work is wonderful and always so inspiring!
Have a great weekend.
Hugs, Celestina Marie
hi Karen
I have a little something for you over at my blog, hugs Sara
Looks like a fun technique : )
Hi Karen,
Thanks for your information. I look forward to trying it.
You always have a beautiful blog.
Peggy
Post a Comment