
 When we decorated the tree at Grandma's house, my favorite, favorite ornaments were the Santas. They had felt coats and paper faces decorated with glitter and tinsel. They were so fragile, and I can still remember the thrill of hanging these from each branch.
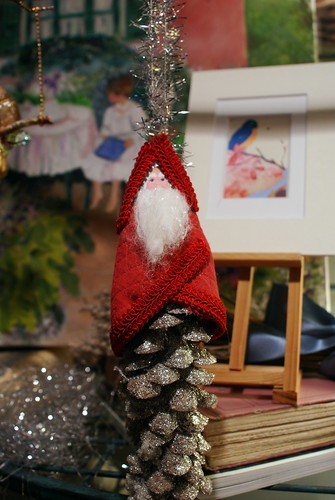
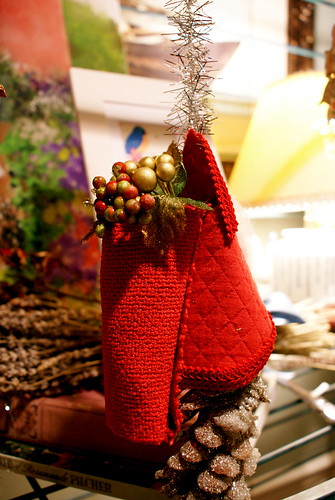 A few years ago I was in a beautiful shop. I spotted new ornaments that were made to look just like Grandma’s, only they had used a generously glittered pine cone for the base. I knew just what I was going to do with the pine cones decorating my front lawn.
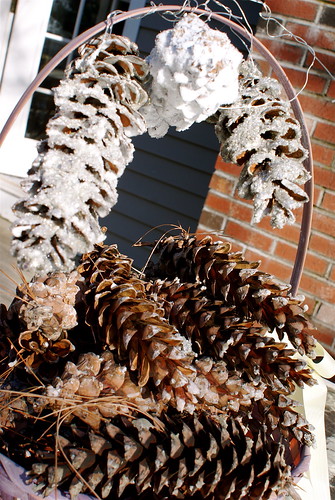
The song for this post is Santa Claus is Coming To Town. A little Frank and a little Bing to make your day sunny and bright.
To begin making my Vintage Santas, I took some glitter and put it into a bowl, the second bowl was filled with glue. I used some bookbinding glue I had on hand. I suspect good old Elmer’s would have done the trick.
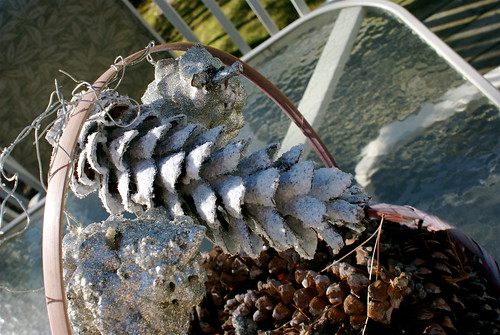
I tied a piece of wire around the pine cone to make it easy to coat with glue and glitter and so that I could hang it to dry. Cocoa loves crafting.

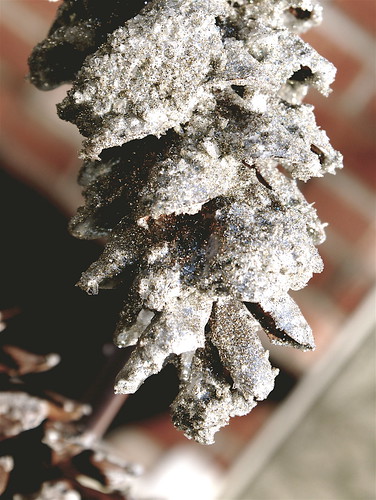
I drenched the pine cone with the glue, using a spoon to pour glue on every visible bit.
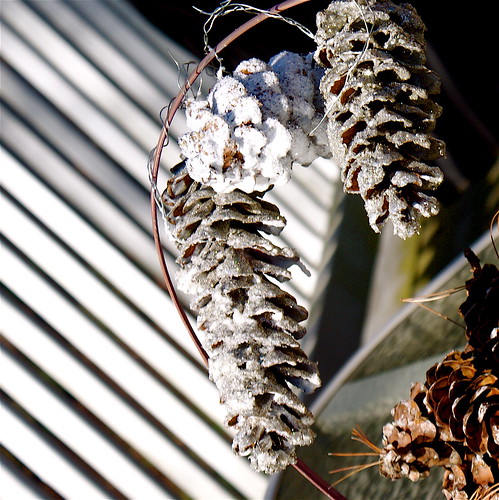
Then I sprinkled glitter on the pine cone the same way.

Then I hung the wet pine cones to dry, Sam stood guard.

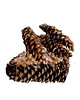
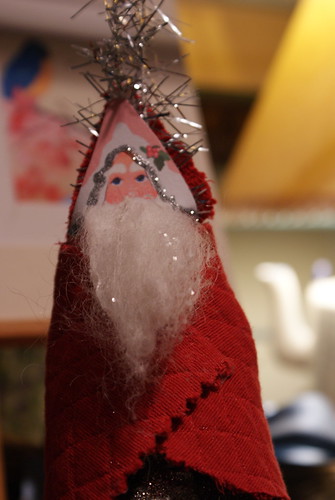
When the pine cones were dry, I proceeded to design my Santa toppers. First I tied the tinsel cord around the first pine cone and made sure it hung okay. Then I cut my Pink Santa in half, right beneath his cloak. Draping a piece of material over his shoulders I created the cape, and secured it with double sided tape.
I cut Pink Santa’s beard so that it could stick out of the cape.
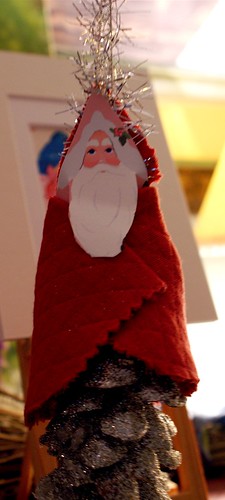
When I went to add my finished topper, I grabbed the glitter rope and brought it up through his new cape, so that I could hang the ornament.
Out of the same material, I cut the shape for the back of Santa's head. I secured one side using tape to the material and the glitter rope, then the other side to the back of his head. The glitter rope was sandwiched in between. Then I tucked the end into the cape.

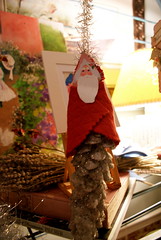
Popping in a bit of greenery,
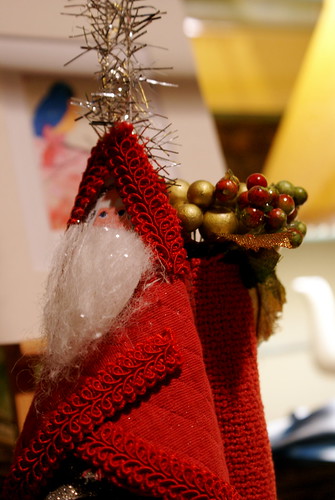
I made him look almost like Grandma’s Santas.

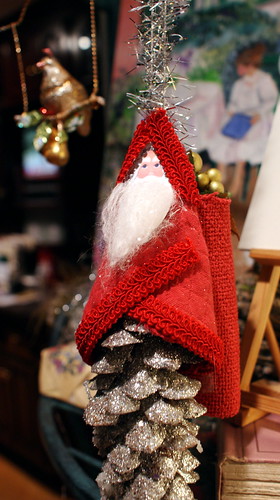
When I was finished I was covered in bits of glitter, good wishes and sipping a cup of Grandma’s favorite tea...she would approve. Wishing you lots and lots of Grandma's Vintage Santa creativity.
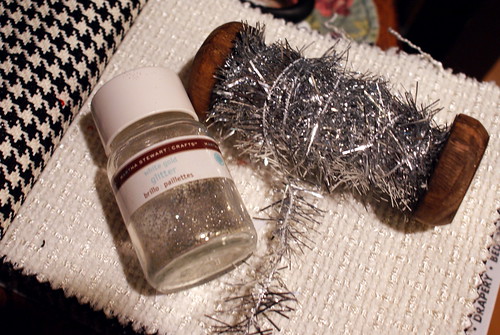
For this project I bought some Martha Stewart glitter in white gold. I experimented with glass glitter, but I liked the Vintage effect better. The tinsel cord is sold in most craft shops, you can also use ribbon.

Today is day eleven of our Christmas countdown. Here is my pattern for a Santa ornament. You can use this for your Santa face on your pinecone vintage Santa as well.

please take home any artwork as my gift to you for stopping by.

o
Post a Comment